Transmission
I use BitTorrent. It’s an incredibly useful method of file sharing and is very fast and convenient for downloading all those Linux Iso’s.
I’ve used several BitTorrent clients over the years, mainly rtorrent and deluge but the main problem I’ve had with all of them is that they’ve been running on my desktop which I prefer to either shut down or hibernate while I’m out of the house.
However, now that I have a NAS that runs 24/7 I decided it would be much better if it could handle my torrents.
FreeNAS has a plugin system that makes it incredibly easy to set up various services in jails with just a few clicks and one of the offerings is Transmission. This post is not intended to be a comprehensive guide to Transmission in FreeNAS but more of a brief overview. I will however mention some of the “gotcha’s” I encountered.
After doing some reading I decided to start out by creating a new dataset for my torrents. I placed mine in my Media directory, named it “Torrents” and set it a quota. It’s a good idea to set a quota for your torrents to prevent the risk of your pool filling up without you realising it.
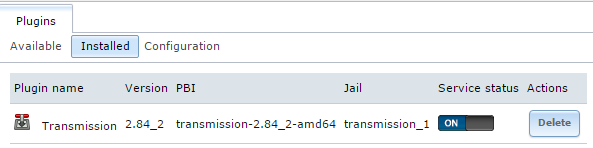
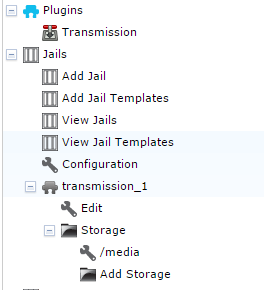
With the dataset created, I installed the plugin. I then added the storage dataset to the Transmission Jail by going to jails, selecting the Transmission Jail and clicking “Add Storage”. At this point I will mention the permissions as this caused me issues later on.
Many guides suggest setting the ownership of the storage to nobody and using read/write/execute permissions for all. Personally I dislike this idea and like to keep my permissions as tight as possible.
I found that Transmission runs in the Jail under group ID 921 so I created a new group in FreeNAS called Transmission with the same ID. I then set the Owner Group setting on the dataset to my new Transmission group. To make sure I also had access to the dataset I added my own user to the Transmission group as well.
Next I edited the Transmission jail options and assigned it an IP address on my network. With this done I went back to the plugins menu and clicked Transmission to bring up the plugin options.
I set the folder locations I wanted to use in my mounted storage and then started the plugin.
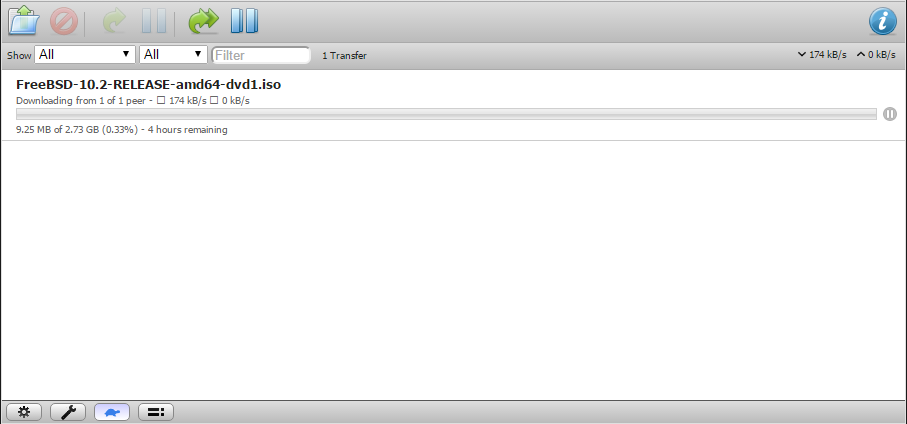
As this point I was able to navigate to the Transmission web interface by going to the IP address I set earlier in a web browser. There is a spanner icon in the bottom left of the screen which allows you to set some more options. The “Download to” option sets the location that completed torrents will be moved to.
At this stage I was able to browse to the Incomplete and Complete torrent folders via my Media share drive mapping. Adding torrents was as simple as saving the .torrent files to the Incomplete folder.
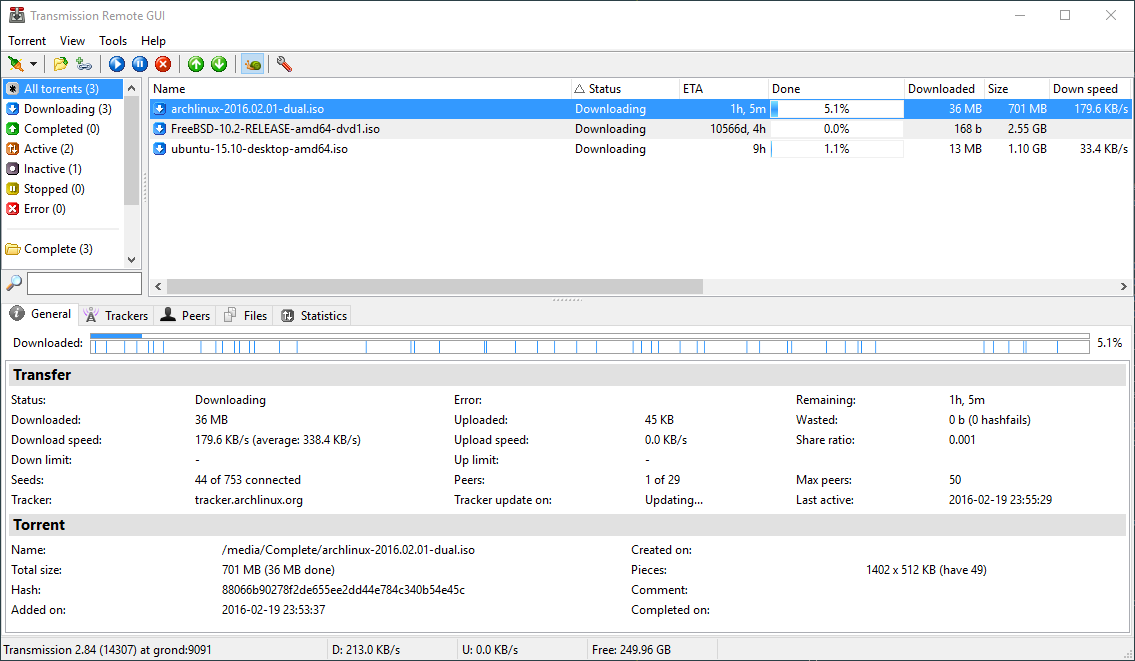
While the web interface is certainly usable I didn’t find it all that functional and as I tend to use Magnet links over .torrent files I started to look for a better interface. I settled on “Transmission Remote GUI” which runs in Windows and sits in my system tray. Once connected up to my Transmission plugin I was able to associate it with magnet links in my browser. This means that by simply clicking a Magnet link, the torrent starts downloading on my FreeNAS server with no further intervention.
I have now been using this solution for a while and can highly recommend it. Apart from an instance where I let my torrent dataset fill up accidentally it has all working incredibly smoothly.